Adding Warehouse Inventory Using Batches
Overview
In this guide, we will go over how to add inventory in the Warehouse using batches. This should be your standard way to input inventory.
If you need to make a manual update, use this tutorial instead.
Who Can Add Warehouse Inventory?
Users with the “Administrate Legrande System” permission can do anything in the warehouse system. By default, the following user roles have that permission turned on:
- Admin
Adding Inventory Using Batches
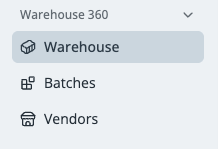
1. Open the Warehouse page within the blue side nav bar.
Click “Warehouse 360” > “Warehouse” in the blue side navbar.
2. Select the product you want to update
Click on the product you would like to update inventory for.
For this tutorial, we will update the inventory of the Ibuprofen 500ct Equate.
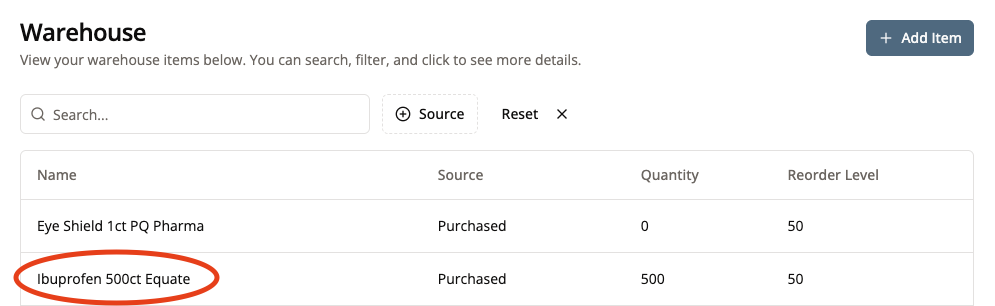
If the product you want to update is not in the Warehouse, follow the “Adding Products to the Warehouse & Linking Vendors” tutorial to add products to the Warehouse.
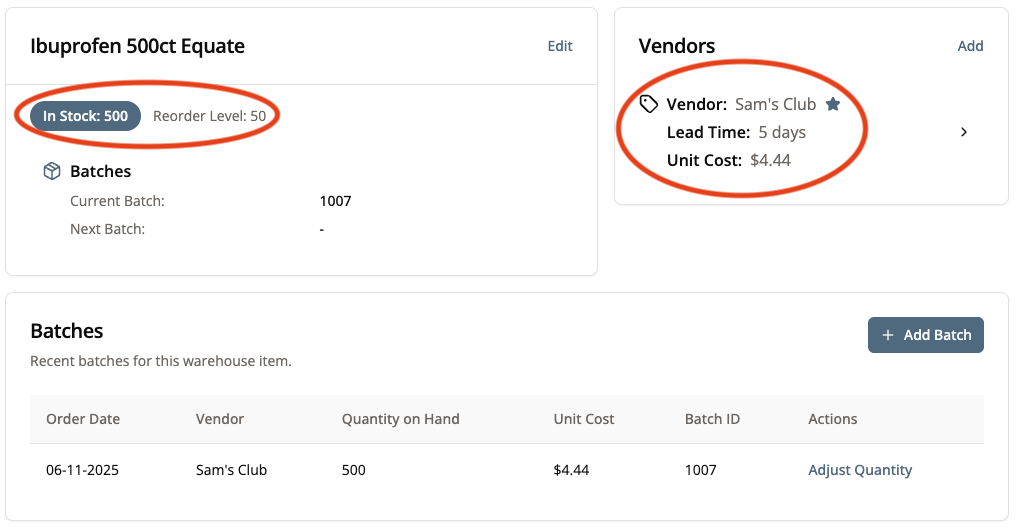
When you are viewing the product, you can see the inventory levels and current vendors who supply this product. Currently, there are 500 of this product in stock.
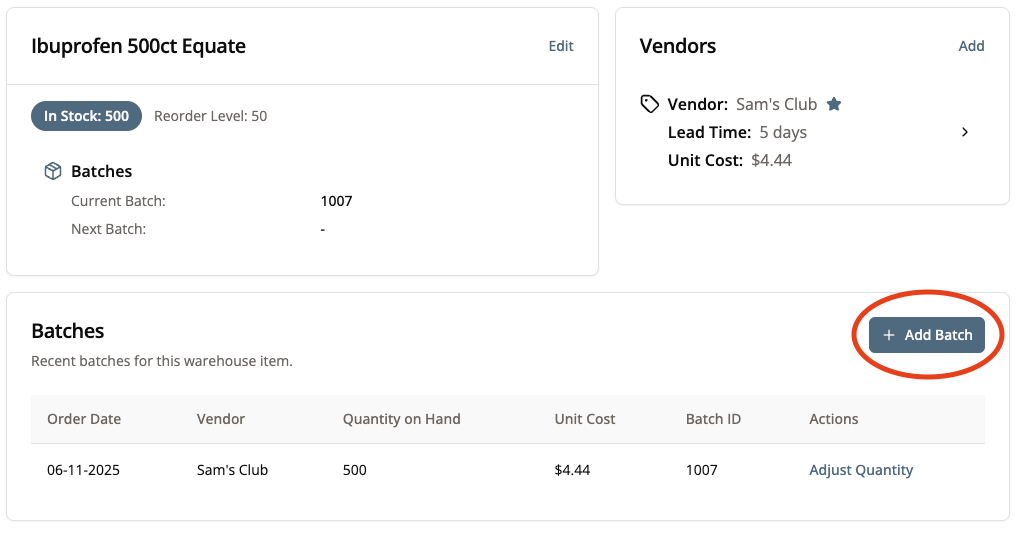
2. Add a Batch to the Warehouse
Click “+ Add Batch.”
3. Fill Out “Create Batch” Form
Clicking on “+ Add Batch” will have taken you to this page, which will ask you to fill out the information from this product’s most recent order.
Fill out all known fields, then click “Submit.”
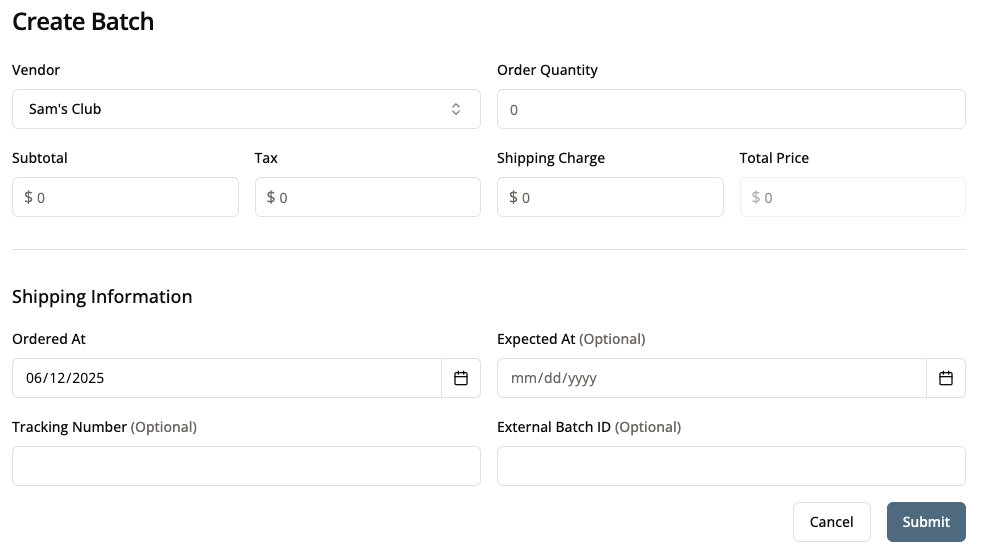
The total price will automatically be calculated when you input the subtotal, tax, and shipping charge.
If no External Batch ID is provided, an arbitrary 5-digit number will be assigned to this batch.
Don’t worry about putting in an external batch number unless you want a specific one.
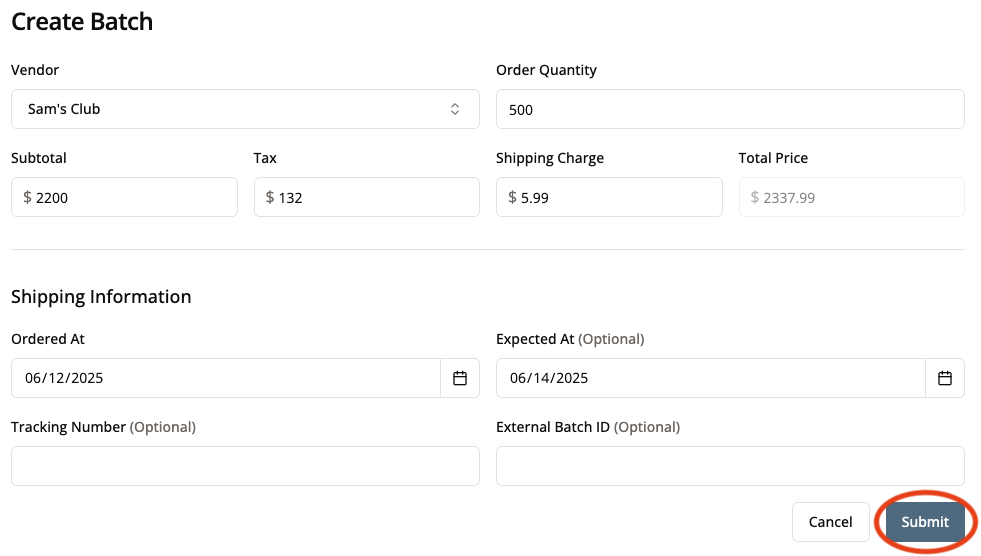
Once you have filled out all known fields, click “Submit.”
For our example, we ordered 500 more of this product.
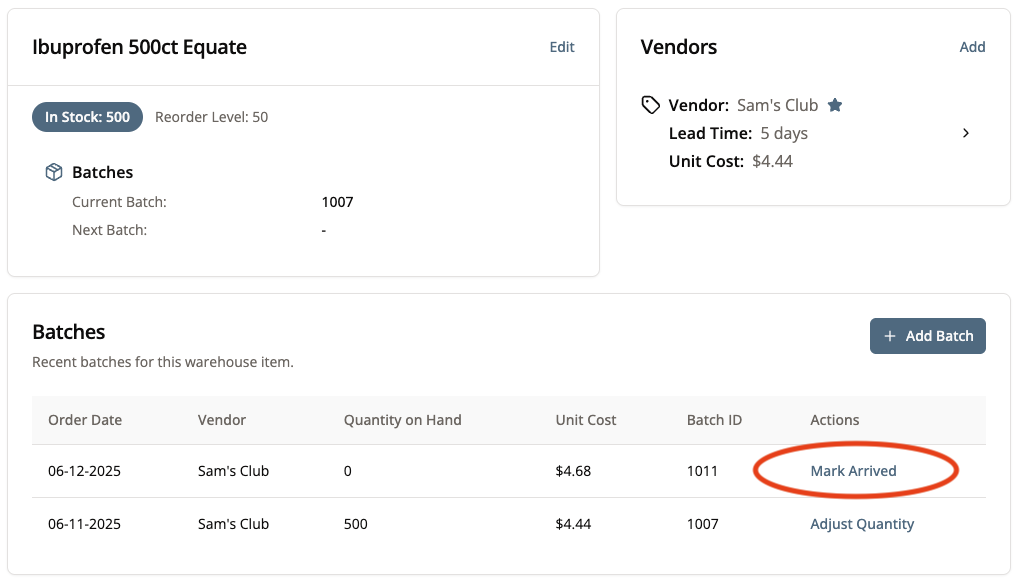
4. Mark That Your Order Arrived
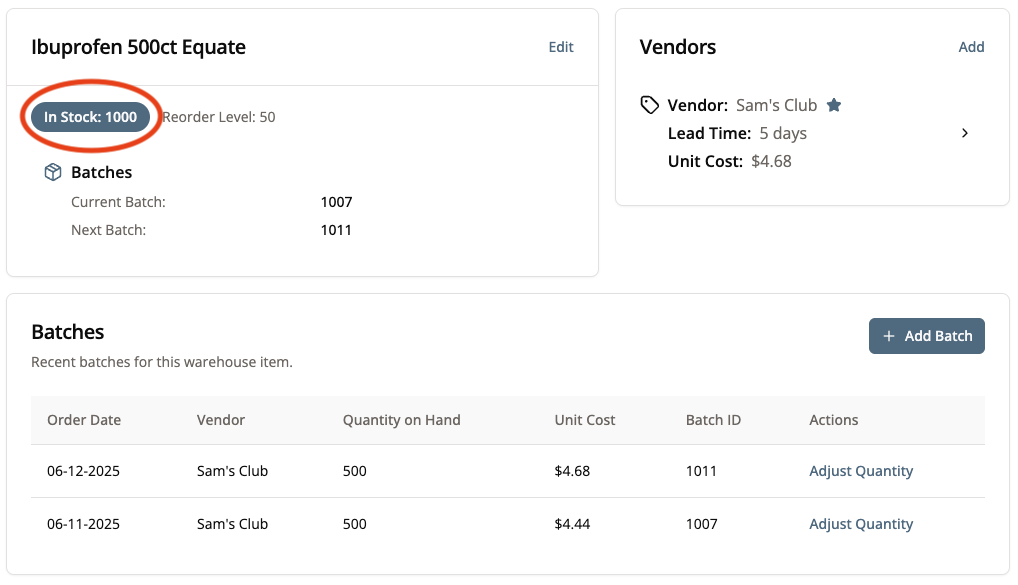
You’ll be brought back to the item’s inventory page.
You’ll note in this examples that the inventory has not been updated from my 500 to 1,000 after my recent order.

To fix this, you need to mark your order as having arrived.
To do this, find your order in the Batches list and click “Mark Arrived” under actions. This will indicate to the system that inventory can now be updated.
Once you click “Mark Arrived,” a pop-up will appear asking you to mark when the product arrived and any known expiration dates for the product.
Fill out these two fields, then click “Submit.”
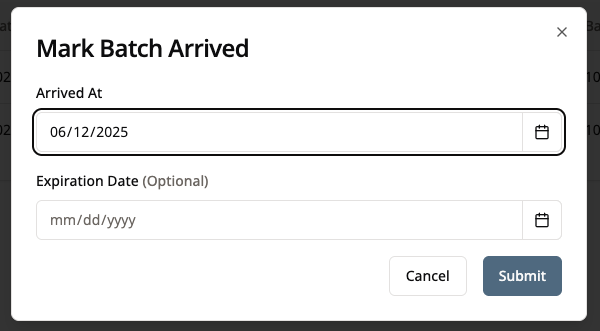
The system now will recognize that this product has been delivered and is now in the Warehouse inventory.
Conclusion
If all went according to plan, you updated a product’s inventory!
You can now update other products in the inventory using batches.
Next Steps
If you need to make manual changes to the Warehouse inventory, follow this tutorial.
If you want to view how inventory automatically updates when products are received, manufactured, or sold, view this tutorial.